Basement Dehumidifier Setup: Placement, Drainage, and Filter Care
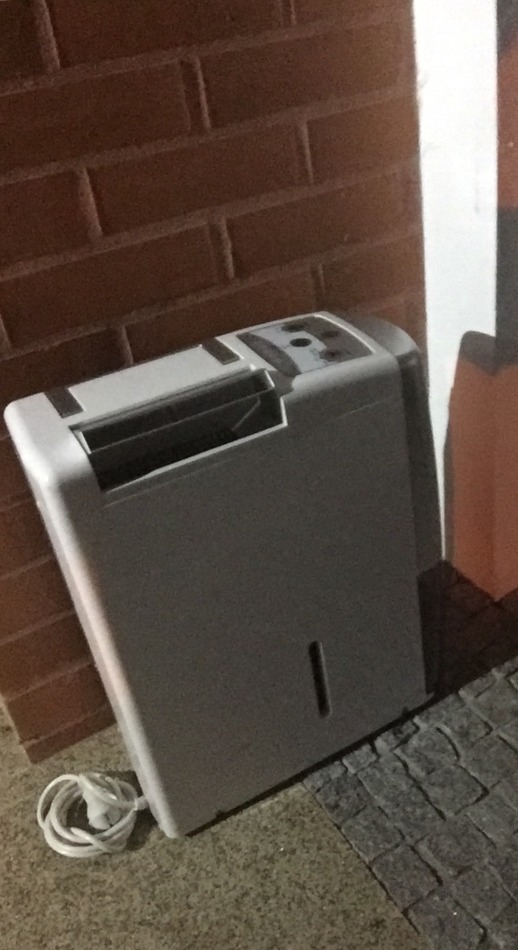
A basement dehumidifier works best when placement, drainage, and filter care are handled from the start.
A good appliance article should help readers decide what to check before they spend money. This guide keeps the advice practical: symptoms to watch, maintenance steps that matter, and buying details that are easy to compare in a real home.
Start With the Job the Appliance Must Do
The unit should pull moisture from the air without short cycling. Capacity, room temperature, and drainage setup decide how well it performs.
Check Fit, Power, and Daily Use
Place it away from walls and boxes so air can circulate. A hose drain is easier than emptying a bucket if the basement stays damp for weeks.
Maintenance Details That Prevent Repairs
Rinse the filter, clean the bucket, and inspect the drain hose for algae or kinks. Dusty basements can clog filters quickly.
When Replacement Makes More Sense
If the coil freezes, the compressor runs constantly, or humidity readings stay high after cleaning, compare repair cost with a newer energy-efficient unit.
A Simple Buying Checklist
Look for automatic restart, a reliable humidistat, hose drainage, and a washable filter that is easy to reach.
Final Takeaway
The best appliance choice is usually the one that fits the room, the household routine, and the maintenance you are actually willing to do. A slightly simpler model with clear controls, available filters, and easy cleaning access often performs better over time than a feature-heavy option that is hard to service.
