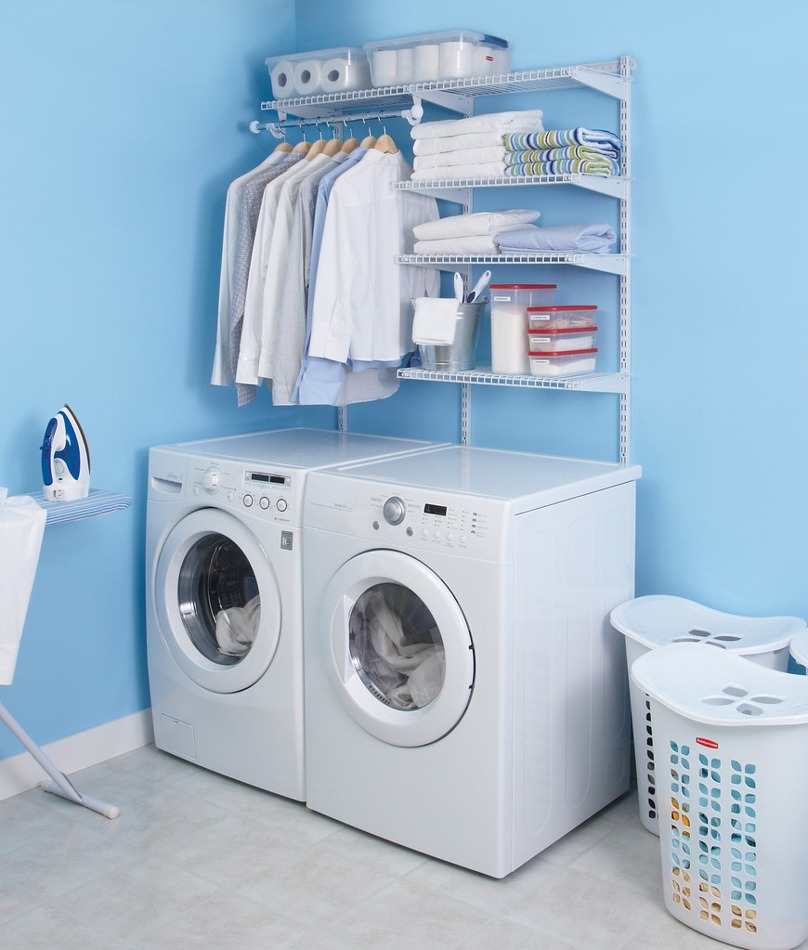
Dryer Vent Cleaning: How to Improve Airflow and Reduce Laundry Time
Dryer vent cleaning is one of the simplest ways to reduce drying time and improve laundry safety.
A good appliance article should help readers decide what to check before they spend money. This guide keeps the advice practical: symptoms to watch, maintenance steps that matter, and buying details that are easy to compare in a real home.
Start With the Job the Appliance Must Do
A dryer removes moisture by moving hot air through fabric and out of the home. Any restriction in the lint screen, duct, or exterior vent slows that process.
Check Fit, Power, and Daily Use
Short, smooth ducts work better than long flexible runs. If the laundry room sits far from an exterior wall, vent design should be part of the buying decision.
Maintenance Details That Prevent Repairs
Clean the lint screen every load, inspect the exterior flap, and clear the duct at least once a year. Heavy towel loads and pet bedding can require more frequent checks.
When Replacement Makes More Sense
If airflow is clear but drying remains slow, the heating element, moisture sensor, or blower may need service. Replace when repair costs stack up on an older unit.
A Simple Buying Checklist
Prioritize moisture sensors, accessible lint paths, and clear cycle controls. Extra steam modes matter less than reliable airflow.
Final Takeaway
The best appliance choice is usually the one that fits the room, the household routine, and the maintenance you are actually willing to do. A slightly simpler model with clear controls, available filters, and easy cleaning access often performs better over time than a feature-heavy option that is hard to service.
